Halloween chocolate bark is a two-ingredient, no-bake treat you can pull together in 10 minutes flat. Melt your chocolate, pile on the candy, chill until firm, and break into pieces. That’s the whole recipe. It’s the one thing I make every October because it requires almost no effort and gets an outsized reaction at every party and school event I bring it to.
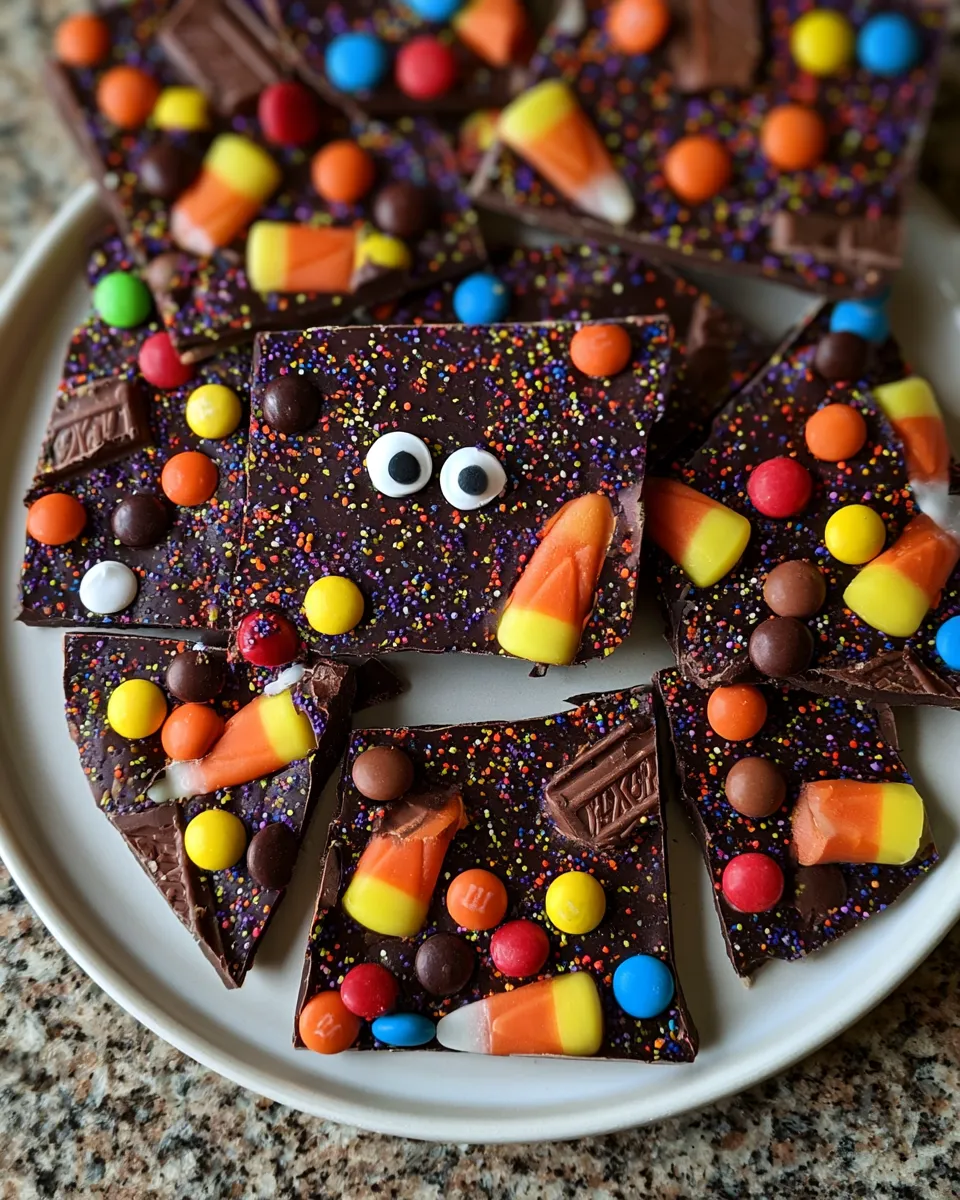
This recipe comes down to two variables: the chocolate you choose and the chill time. Getting both right is the difference between bark that snaps cleanly and bark that bends.
Table of Contents
Why This Halloween Chocolate Bark Works
Halloween chocolate bark works because the technique is forgiving and the result scales to whatever candy you have. There’s no baking, no thermometer, and no special equipment beyond a baking sheet and a spatula.
The one ingredient worth paying attention to is the chocolate itself. I’ve made this with milk chocolate, white chocolate, and dark chocolate over the years. In my experience, bittersweet at 60 to 70% cacao gives the best balance: it sets firm enough to break cleanly, and the slight bitterness cuts through the sweetness of the candy toppings. Milk chocolate works, but combined with sugary candy, the whole thing can tip into overwhelmingly sweet.
According to the USDA’s FoodData Central, bittersweet chocolate contains more naturally occurring polyphenols per gram than milk chocolate, making it a slightly better choice nutritionally. That’s a convenient bonus when you’re already reaching for it because of the flavor.
This is the recipe I pull out when I need something festive fast. I’ve brought it to school parties, neighborhood gatherings, and sent pieces home as treat bag fillers. It’s always the first thing to go.
What You Need for Halloween Chocolate Bark
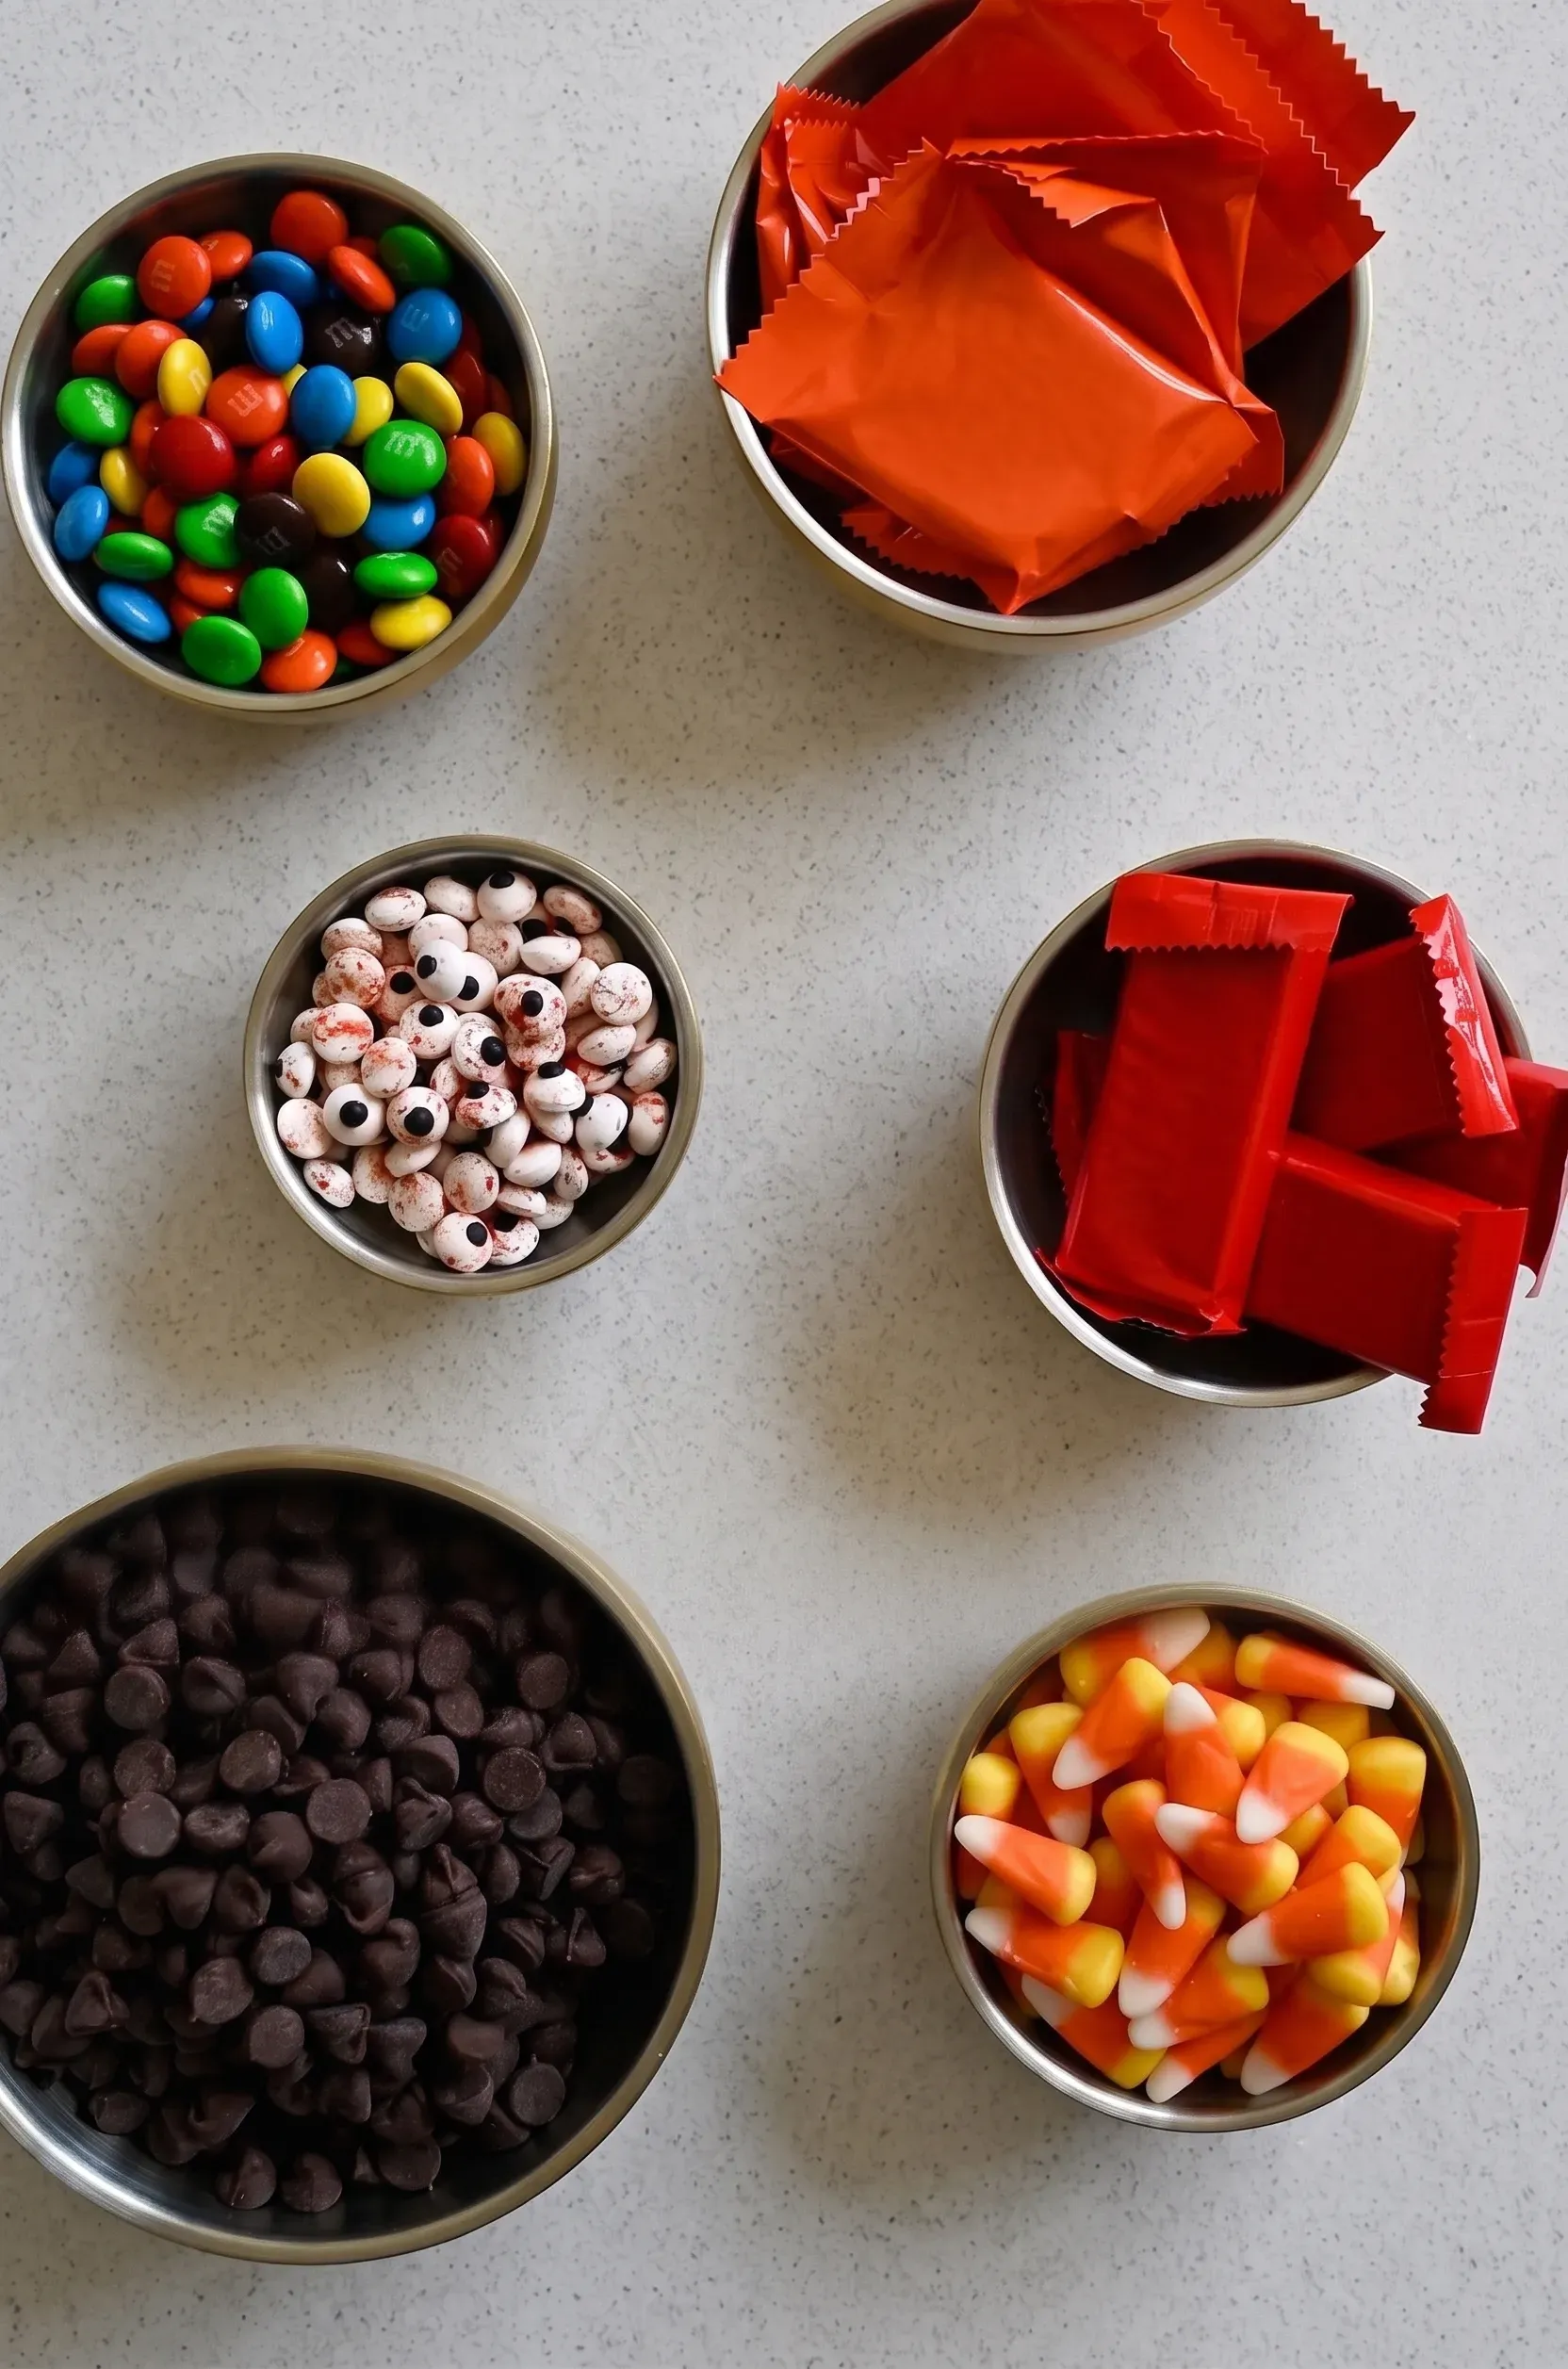
This Halloween chocolate bark uses just two ingredients.
Bittersweet chocolate chips: 3 cups. High-quality chocolate bars or wafers melt more smoothly than chips because they don’t contain the stabilizers that help chips hold their shape. When I tested this with standard supermarket chips versus a quality baking bar, the bar version melted into a glossier, more fluid pool and set with a cleaner snap. Chips are fine if that’s what you have, but the difference is noticeable.
Assorted candy: 2 cups, cut into bite-size pieces. Use whatever Halloween candy you have on hand. Cut larger bars into smaller pieces, so they distribute evenly and stay put on the chocolate.
Optional add-ins: Candy eyes, festive sprinkles, mini pretzels for crunch, or potato chips for a salty-sweet twist.
How to Make Halloween Chocolate Barke
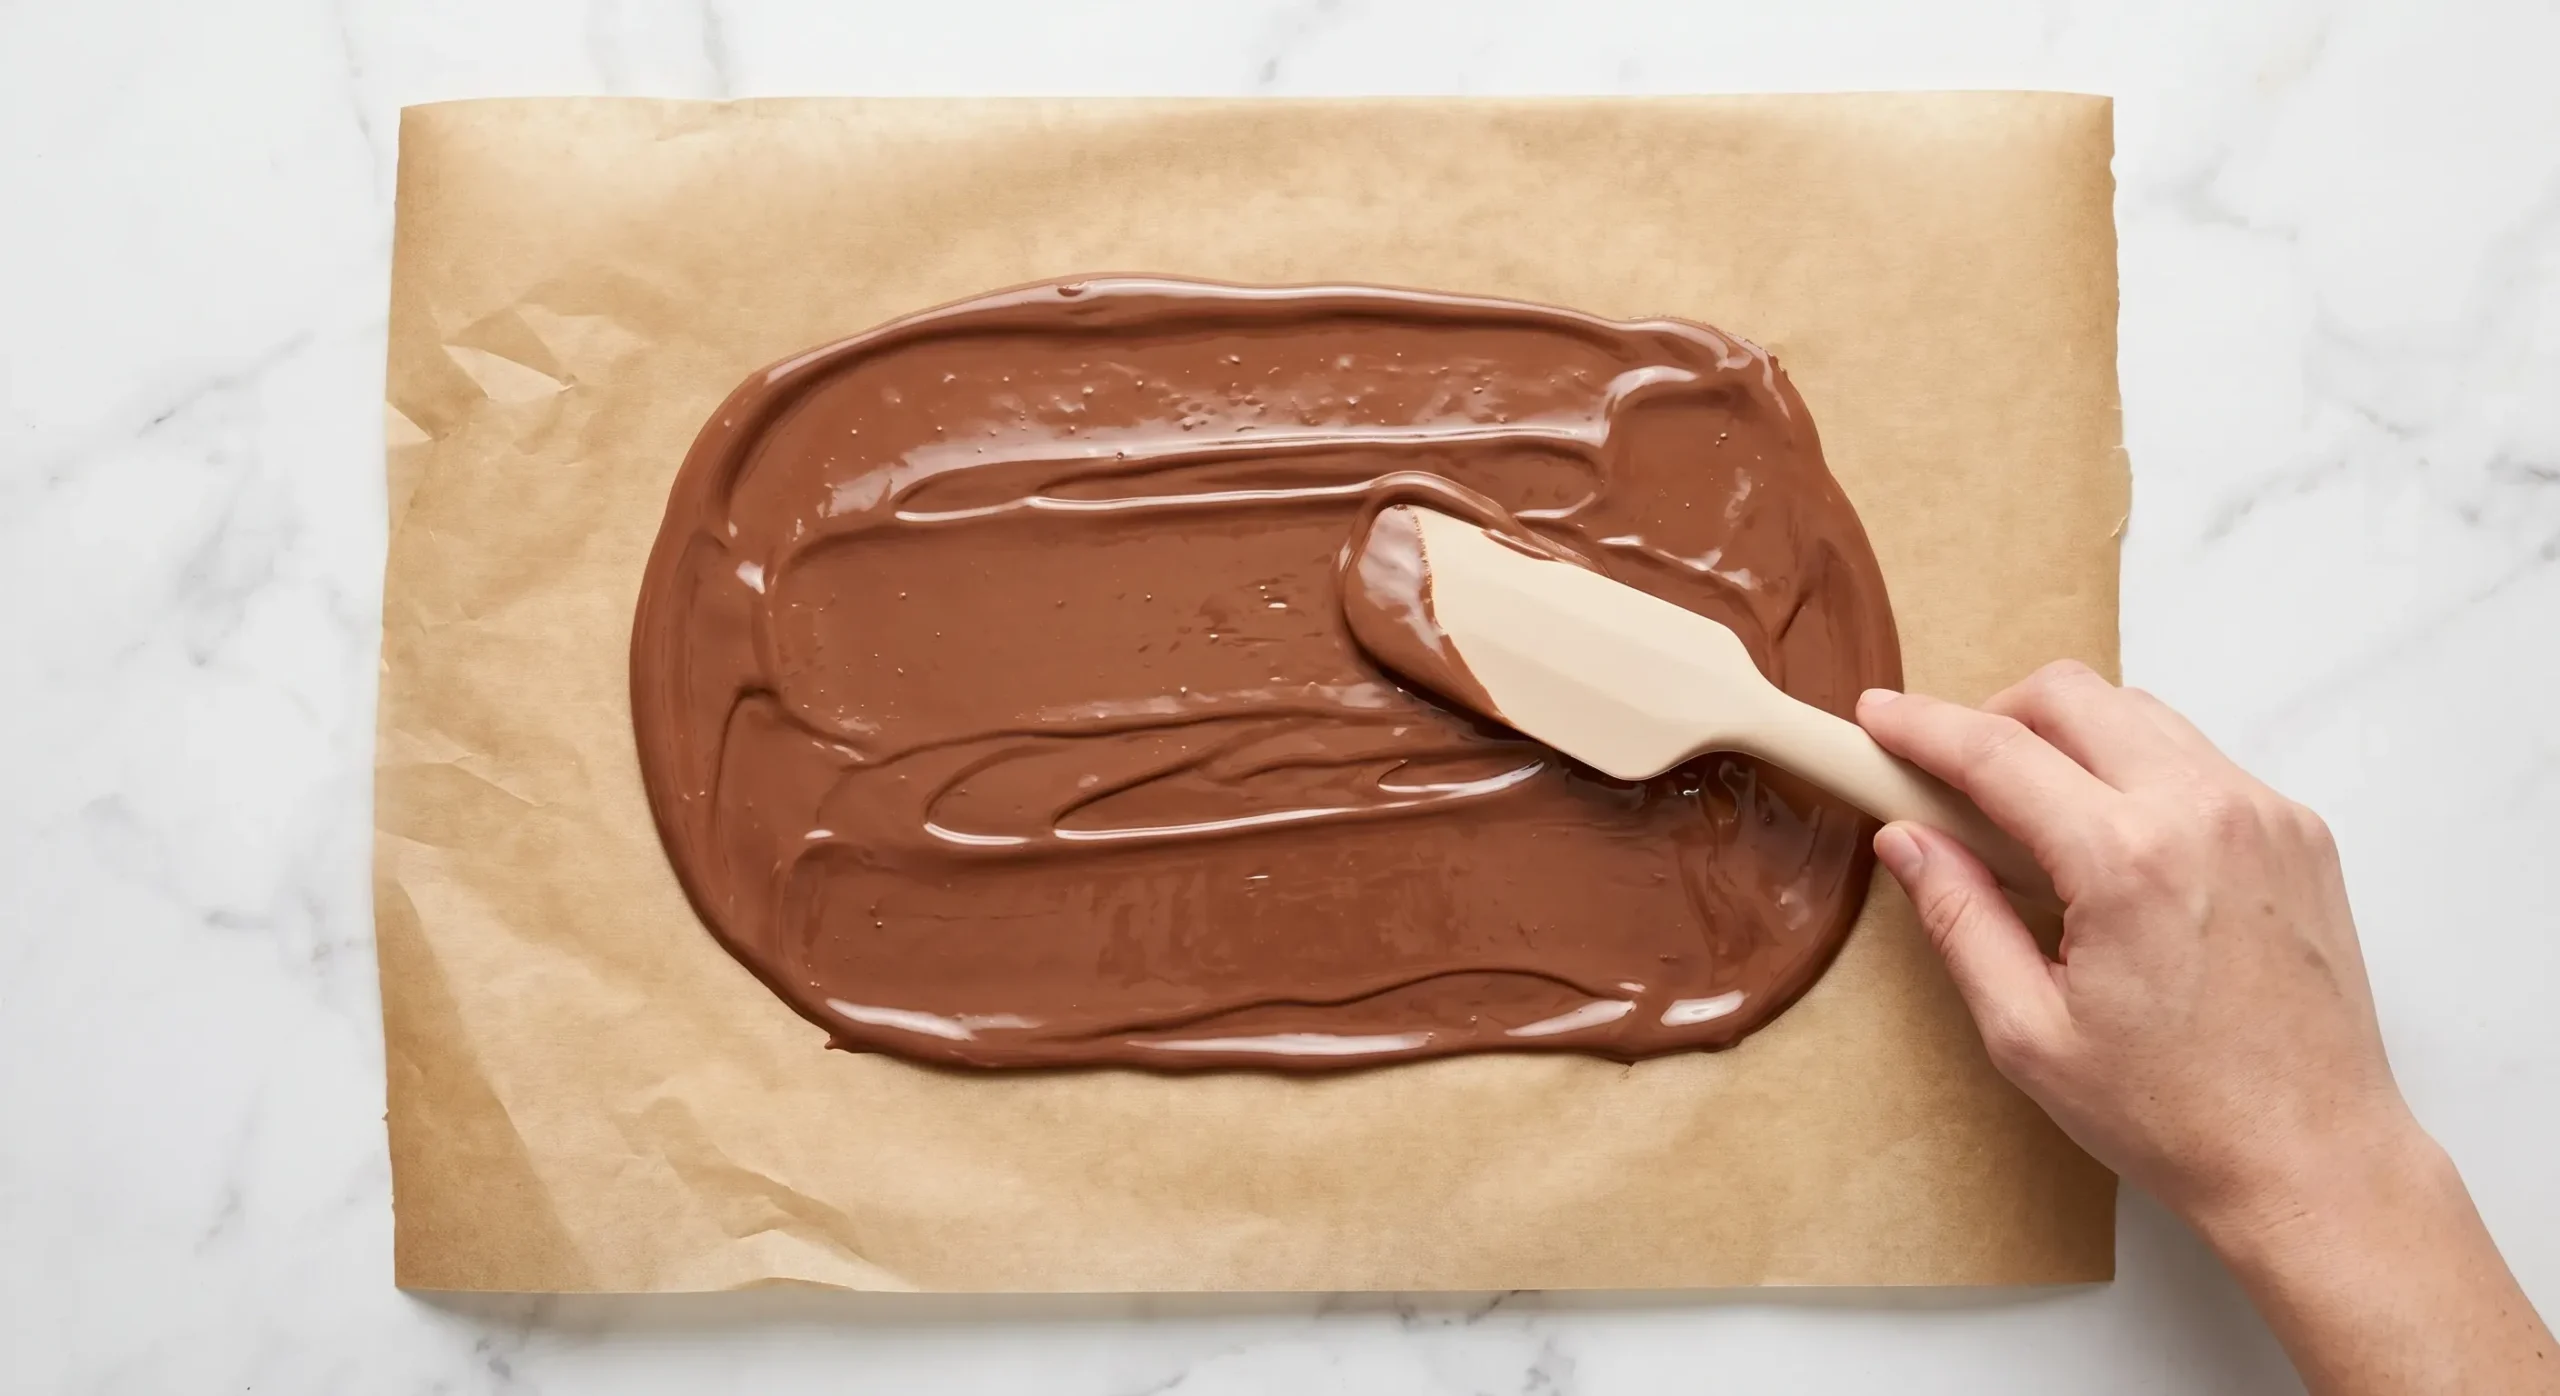
1. Line your baking sheet. Use parchment paper rather than wax paper. Wax paper can stick to the set chocolate and tear when you try to lift the bark off.
2. Melt the chocolate. Use a double boiler over simmering water, or the microwave in 30-second bursts, stirring between each interval. The mistake most people make is heating too long between stirs. Chocolate scorches from the inside out, and by the time you can see it, the batch is already seized and grainy.
3. Pour and spread. Pour the melted chocolate onto the parchment and spread it into an even layer, about 1/4 inch thick, with a spatula. Thinner than that and the bark will be too fragile to pick up; thicker and it won’t chill evenly through to the center.
4. Add the toppings immediately. Scatter candy over the warm chocolate and press pieces down lightly. Work fast: in a cold kitchen, the surface can start to set within 2 minutes. Toppings added after that point won’t adhere and will fall off once the bark is broken.
5. Chill for 30 to 45 minutes. Slide the pan into the refrigerator and leave it undisturbed until the chocolate is fully hardened. Then lift the bark off the parchment, transfer to a cutting board, and break or cut into irregular pieces.
Candy Topping Ideas for Halloween Bark
The topping combinations are endless. These are the ones that work best on dark chocolate:
| Topping | Notes |
|---|---|
| M&Ms | Classic; the color contrast pops against dark chocolate |
| Candy corn | Press in gently so they stand upright; adds festive orange and yellow |
| KitKat pieces | Adds wafer crunch and a visual layer of texture |
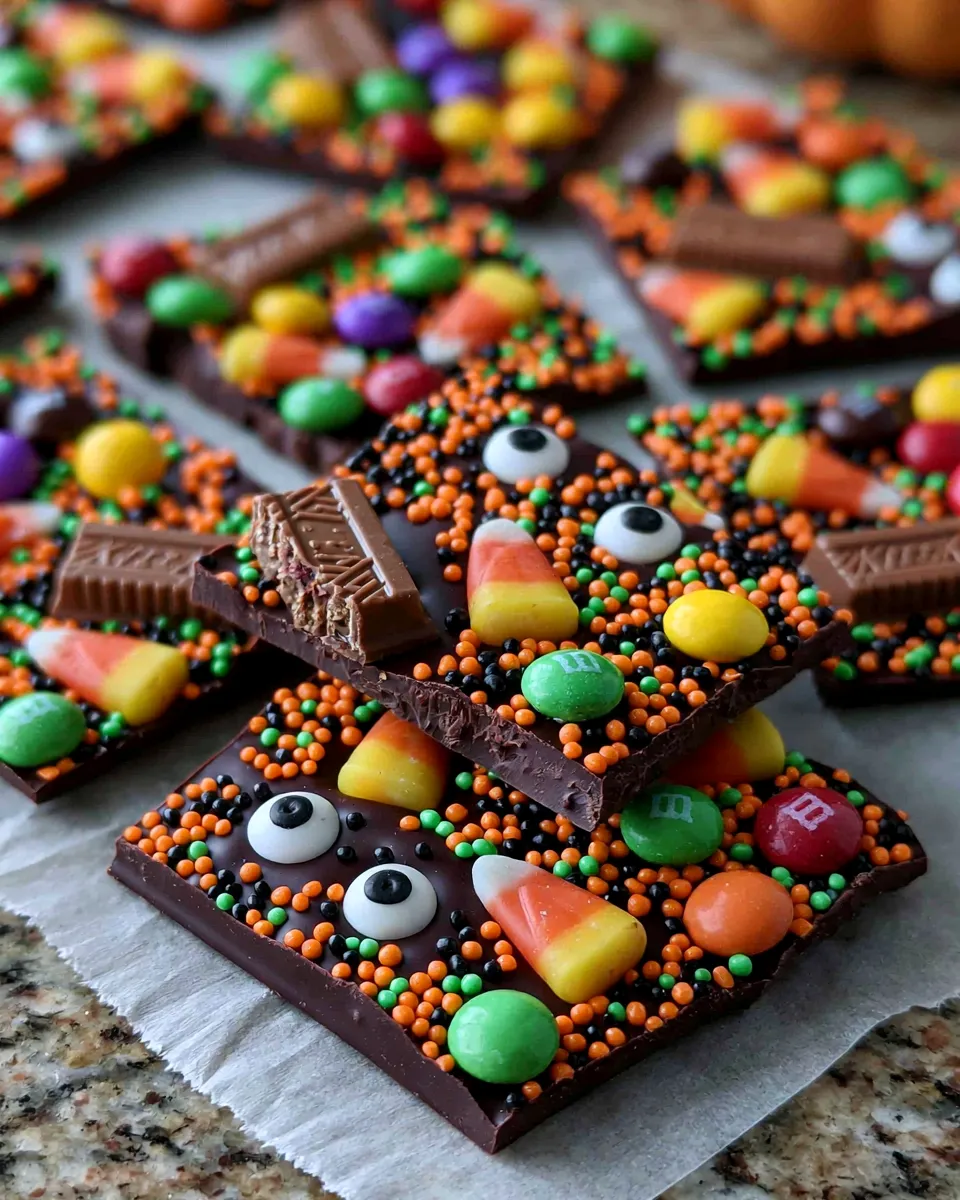
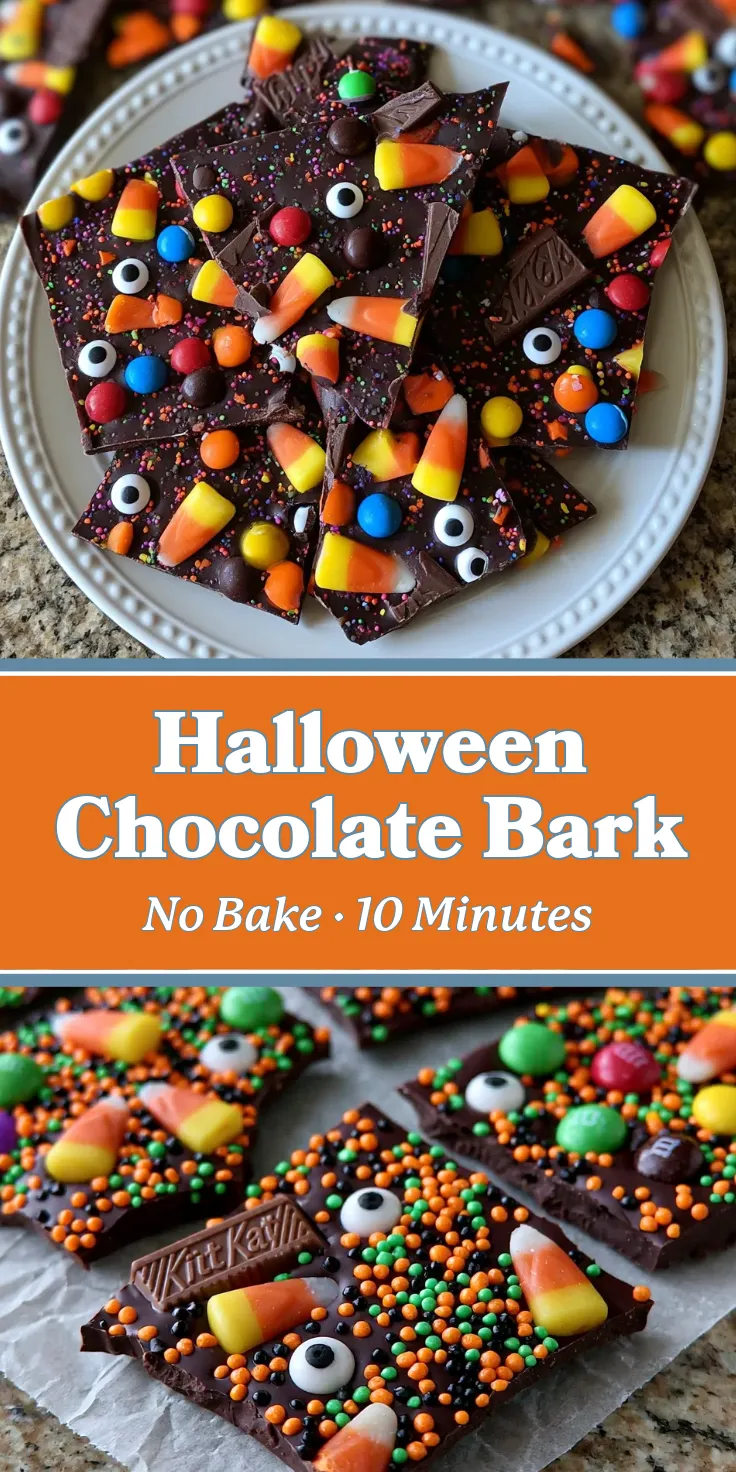
| Candy eyes | Easiest way to make this look Halloween-specific without extra work |
| Mini pretzels | Salty crunch that balances the sweetness of the chocolate and candy |
| Orange and black sprinkles | Fills gaps and adds color without adding bulk |
| Potato chips (crushed) | Unexpected but works well for a salty-sweet crowd |
What surprised me the first time I added candy eyes was how much they changed the visual. Without them, it reads as chocolate with candy on top. With them, it reads as an actual Halloween creation.
How to Store and Freeze Halloween Chocolate Bark
Store the finished bark in an airtight container at room temperature, away from direct sunlight and heat, for up to 2 weeks. If your kitchen runs warm, refrigerate it in a sealed container. The bark may develop a faint white haze on the surface as it returns to room temperature. That’s chocolate bloom, caused by temperature change affecting the cocoa butter. It looks a bit off, but it doesn’t change the flavor at all.
To freeze, arrange pieces in a single layer on a baking sheet until solid, then transfer to a zip-top bag with parchment between layers. Frozen bark keeps for up to 2 months. Thaw at room temperature rather than the refrigerator so the bark doesn’t collect condensation on the surface, which can make it sticky.
One caveat: I stored this bark on the counter uncovered for one year when the container was being used for something else. It picked up every ambient odor in the kitchen within a day. Always store it sealed.
What to Serve With Halloween Chocolate Bark
Halloween chocolate bark holds its own on a dessert table, but it pairs well with:
Caramel apple slices for a sweet-and-tart contrast, warm spiced apple cider, or a scoop of vanilla ice cream with the bark broken over the top as a topping. It also packages well as an edible gift: stack pieces in a clear treat bag or a small gift box with parchment separating the layers.
Frequently Asked Questions
What kind of chocolate is best for Halloween bark?
How long does Halloween chocolate bark last?
Can you freeze Halloween chocolate bark?
What candy toppings work best for Halloween bark?
How do you keep chocolate bark from getting soft?
Nutrition Information
| Nutrient | Per Serving (1/10 of batch) |
|---|---|
| Calories | 419 kcal |
| Carbohydrates | 61 g |
| Protein | 4 g |
| Fat | 16 g |
| Saturated Fat | 15 g |
| Fiber | 2 g |
| Sugar | 47 g |
| Sodium | 151 mg |
Halloween Chocolate Bark

Ingredients
- 3 cups bittersweet chocolate chips 60–70% cacao recommended; high-quality chocolate bars or wafers work even better
- 2 cups assorted candy cut into bite-size pieces (M&Ms, candy corn, KitKat pieces, Reese’s Pieces, or your favorite Halloween candy mix)
Instructions
- Line a large baking sheet with parchment paper.
- Melt the chocolate chips in a double boiler over simmering water, stirring constantly, until completely smooth. Alternatively, microwave in 30-second bursts, stirring between each interval to avoid scorching.
- Pour the melted chocolate onto the parchment-lined baking sheet. Using an offset spatula or the back of a spoon, spread it into an even layer about 1/4-inch thick.
- While the chocolate is still warm, scatter the chopped candy and any additional toppings evenly over the surface.
- Transfer the baking sheet to the refrigerator and chill for 30 to 45 minutes, until the chocolate has fully hardened.
- Remove the bark from the refrigerator and carefully lift it off the parchment onto a cutting board. Use a sharp knife to cut or break it into irregularly shaped pieces.
- Serve immediately or store in an airtight container in a cool, dry place for up to 2 weeks.